DIY window tint looks simple on video. In real life, small mistakes create big problems. Many DIY jobs end with bubbles, peeling edges, and film that looks hazy in the sun. Some mistakes also damage defroster lines or leave adhesive residue that takes hours to remove.
Why DIY tint fails so often
Window film needs a clean surface, correct cutting, steady heat, and the right installation solution. Most DIY kits skip key tools and proper film quality. One missed step leaves defects you see every day.
Top DIY car tint mistakes
1) Poor cleaning leads to bubbles and bumps
Dust, pet hair, and tiny grit stick under the film. You then get small bumps that never go away.
- Symptoms: tiny dots, trapped lint, rough texture
- Why it happens: people clean the glass, but ignore seals, edges, and the bottom channel
- What it costs: you often need a full removal and re-tint
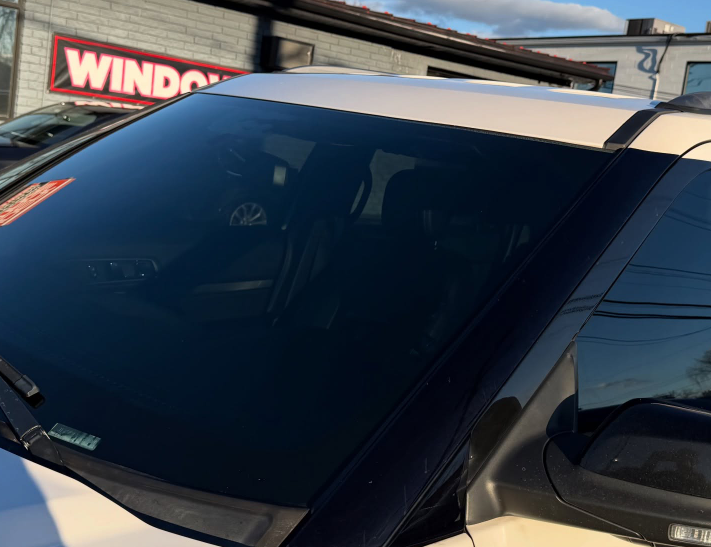
2) Cutting the film wrong leaves light gaps and peeling edges
If the film is cut short, you see a clear border around the glass. If it is cut long, edges fold and peel.
- Symptoms: uneven borders, jagged cuts, lifting corners
- Why it happens: trimming by hand without proper templates and blade control
- What it costs: redoing the panel, plus extra film waste
3) Shrinking the film incorrectly causes fingers and creases
Most rear windows curve. Film must shrink to match the curve. If you heat it wrong, you get creases that stay locked into the film.
- Symptoms: vertical “fingers,” creases, distortion
- Why it happens: uneven heat, rushing the shrink step, weak heat gun control
- What it costs: rear window re-tint, which is often the hardest piece
4) Too much solution weakens adhesion
DIY installers often soak the glass to keep the film moving. If you leave too much liquid, the film never bonds the right way.
- Symptoms: film slides, edges lift later, peeling over time
- Why it happens: not squeegeeing in the right pattern, missing edge passes
- What it costs: early failure and another install
5) Not removing enough moisture creates milky haze
Some moisture is normal right after install. A DIY job often traps extra water, creating a cloudy look that lingers.
- Symptoms: haze, blotches, water pockets
- Why it happens: weak squeegee pressure, cheap tools, poor technique
- What it costs: frustration, and sometimes full removal
6) Using cheap film turns purple and fades fast
Low-grade dyed film can discolor, fade, or look purple over time. It also blocks less heat.
- Symptoms: color shift, uneven shade, fading
- Why it happens: bargain film with weak UV stability
- What it costs: replacement tint plus removal labor
7) Scratching glass with the blade leaves permanent marks
One slip during trimming can scratch the glass. Those scratches stay even after you remove the tint.
- Symptoms: visible scratch lines near edges
- Why it happens: trimming on-glass without proper technique
- What it costs: living with the damage, or replacing glass
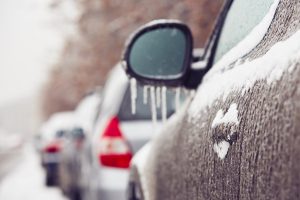
8) Damaging rear defroster lines ruins winter visibility
Rear defrosters use thin conductive lines. Aggressive scraping during removal or install can break them.
- Symptoms: rear defroster stops working in sections
- Why it happens: scraping adhesive, pulling film too hard, using harsh tools
- What it costs: expensive repair, and sometimes no real fix
9) Tinting over existing film traps defects
Some DIY installs go over old tint to save time. That locks in bubbles and creates a messy look.
- Symptoms: double-layer haze, trapped bubbles, peeling faster
- Why it happens: skipping removal to avoid adhesive cleanup
- What it costs: harder removal later and higher labor
10) Picking the wrong darkness leads to tickets and rework
If you install film darker than local limits, you risk stops, fines, and forced removal.
- Symptoms: inspection failure, fix-it notice, repeated stops
- Why it happens: guessing laws, ordering film by “look” instead of legal specs
- What it costs: removal and replacement with legal film
DIY tint warning signs you should not ignore
- Edges lift after a few days.
- Bubbles grow instead of shrinking.
- Rear window looks distorted when you drive at night.
- Film looks cloudy in direct sun.
- Color shifts from black to purple or brown.
What to do if your DIY tint went wrong
Step 1: Stop trying to “fix” it with more heat
Extra heat often locks creases in deeper or cracks film.
Step 2: Avoid scraping the rear window
Scraping risks defroster damage. Use safer removal methods or get help.
Step 3: Remove and replace instead of patching
Patches look worse over time. A clean re-tint gives a uniform finish.
Why professional tinting costs less in the long run
- Pros use better film with stable color and stronger heat rejection.
- Pros use correct tools for cutting, shrinking, and edge sealing.
- Pros install faster, cleaner, and with fewer defects.
- Pros help you select a legal tint level for your state.
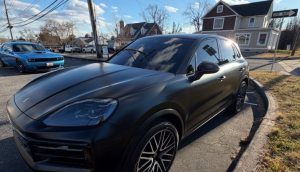
Get window tint done right in Nottingham, MD
If you tried DIY tint and hate the results, get it removed and reinstalled the right way. Ideal Image Auto Salon offers professional window tinting at 7901 Belair Rd, Nottingham, MD 21236. Call 410-663-8468 to schedule tint removal and a clean, professional install.